
PROCESSMAY 12, 2026BY YANUME
THE ART OF COLOR GRADING
How we achieved the look.

For beginners in filmmaking, there is a common misconception that the cinematic "look" of a project is born entirely in software like DaVinci Resolve. The reality? A professional color grade is simply the final polish on a foundation built long before you sit down at a computer.
Creating intentional visuals means understanding that color grading actually starts on set. Here is the industry breakdown of why your lighting and camera choices are the true first steps of your color grade.
1. Lighting is the Blueprint
You cannot grade what isn't there. The way you light a scene dictates the contrast ratios, the color separation, and the mood. If you want a clean, high-end commercial aesthetic, your lighting needs to establish that baseline.
The "Mind's Eye" Principle: Before calling action, you must visualize the final image. If you know you want a nostalgic, high-contrast look in post-production, you must light the scene to support heavy contrast without losing essential details in the shadows or highlights. Software can manipulate light, but it cannot invent it.
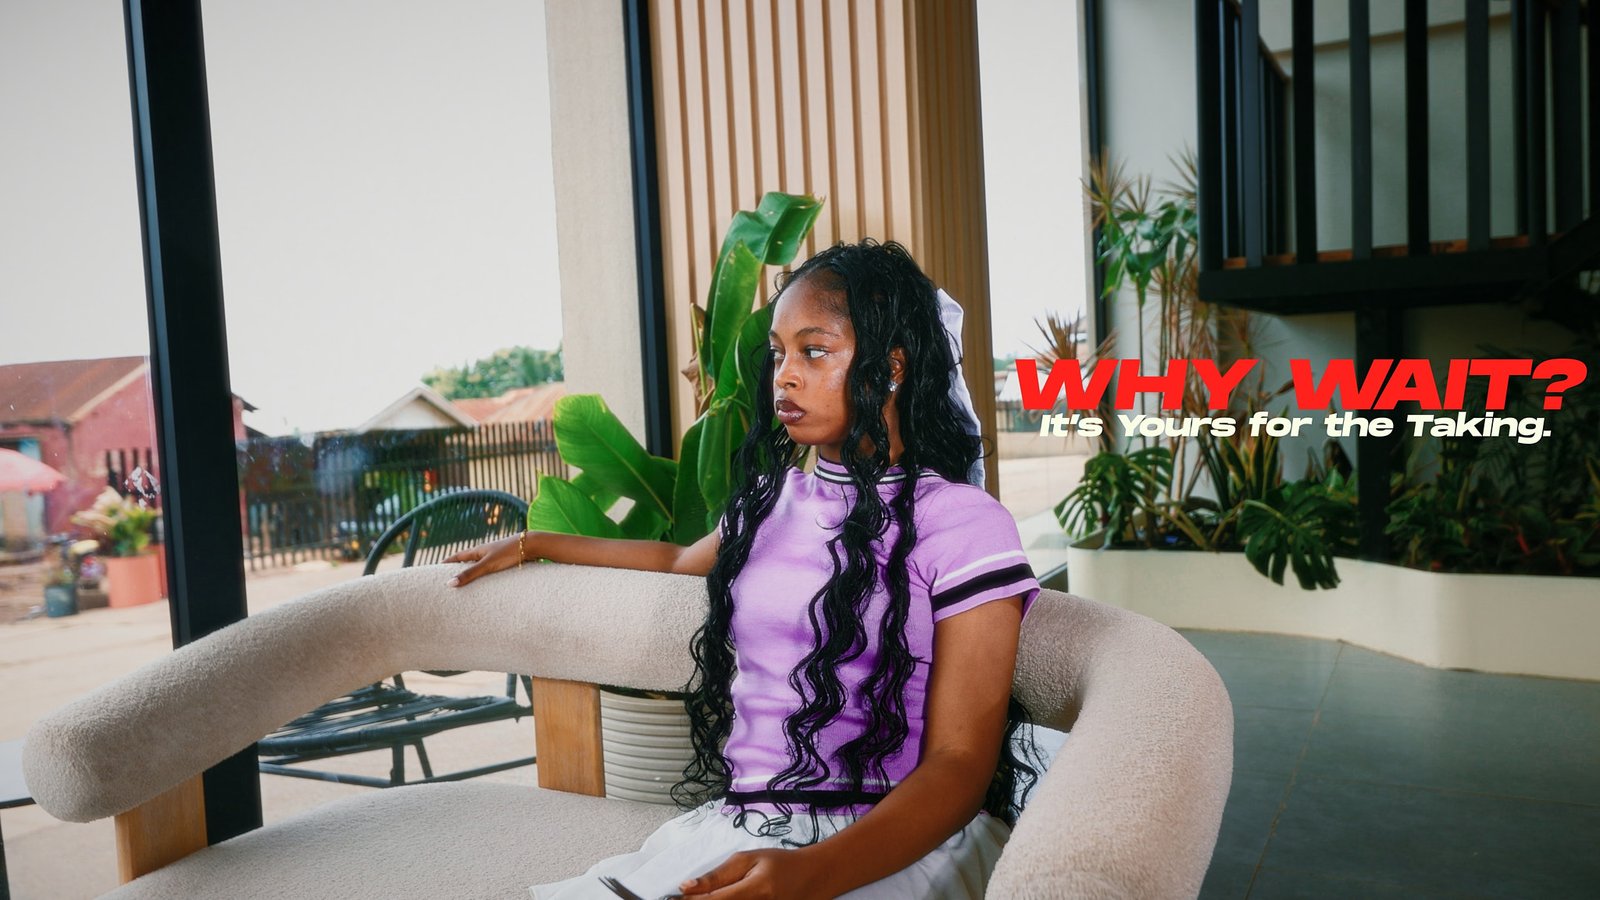
2. Setting the Temperature The "EAT NOW
Let’s look at the "EAT NOW" English breakfast commercial. To achieve that pristine, healthy look for both the food and the talent, the on-set decisions were highly deliberate:
The 6500K Decision: We set our two main video lights to 6500K (daylight). This wasn't a random choice. Daylight balance provides an incredibly clean, neutral, and accurate starting point. It captures the vibrant reds of the tomatoes and the natural warmth of the talent's skin with perfect fidelity.
The Foundation: By locking in this clean temperature on set, we ensured the image had the highest quality color data possible before ever touching a color wheel.
3. Capturing the Right Data
Your camera and lens pairing (like a Canon EOS R6 with sharp Sigma or Canon glass) acts as the funnel for your lighting. Exposing the image correctly on set gives you "latitude" the flexible digital room to push and pull the colors later. A poorly lit or improperly exposed image will break apart, introduce digital noise, and severely limit your grading options, no matter how skilled you are in Resolve.
4. The Handoff to Post-Production
When you build a perfectly lit, properly balanced foundation on set, the actual grading process becomes an act of enhancement rather than rescue.
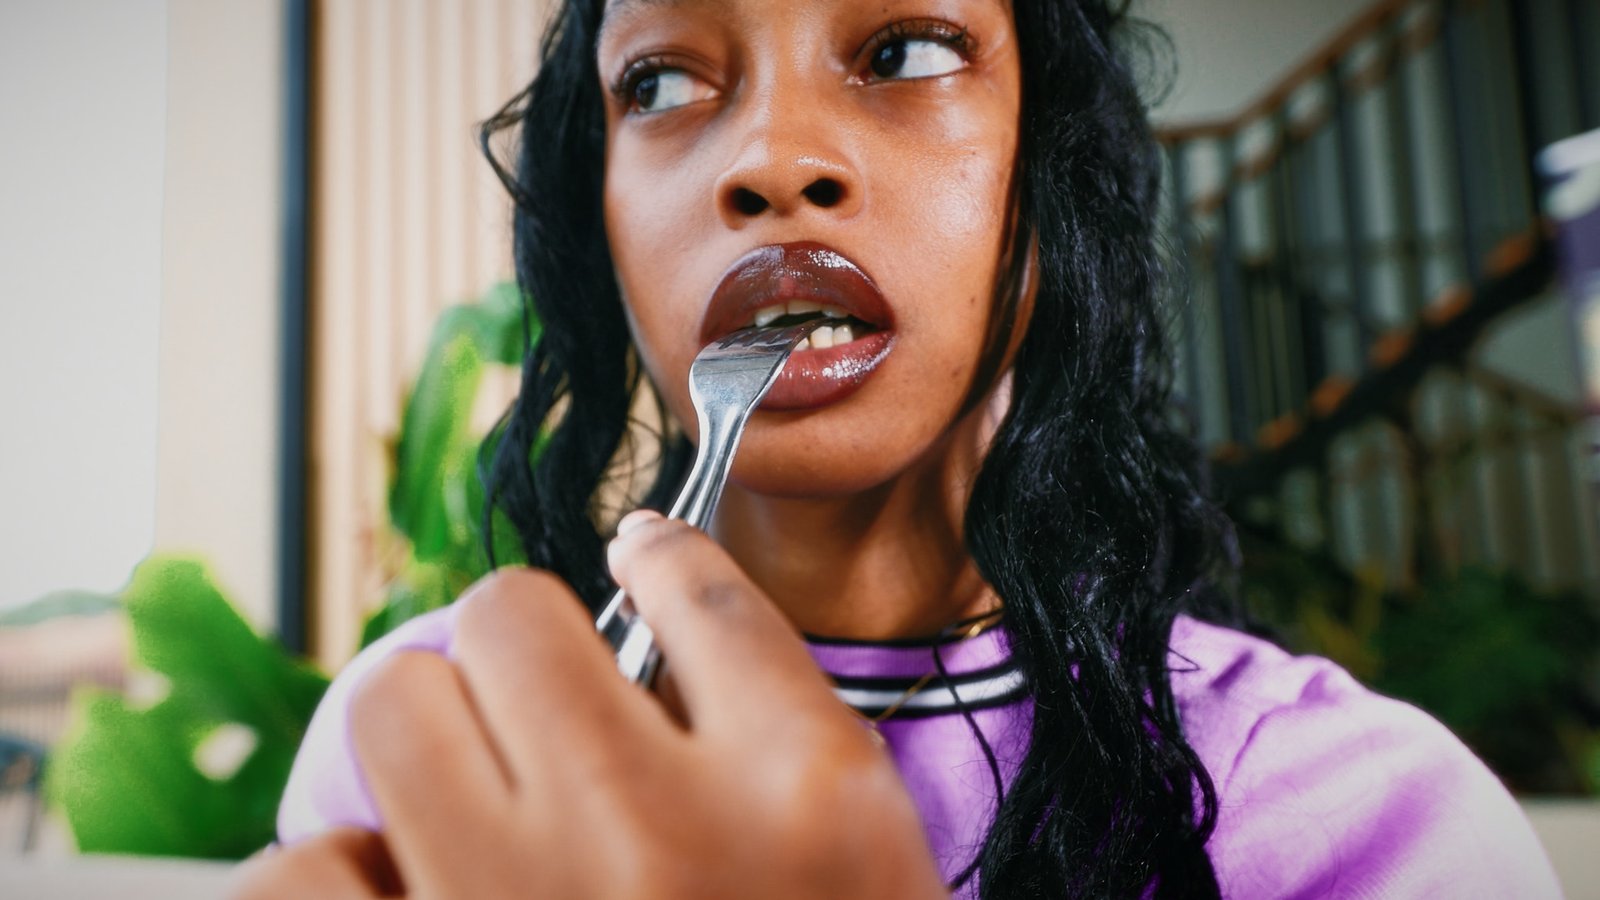
Because the lighting was crisp, when we pushed a high contrast curve in Resolve, the image retained its premium, hearty feel instead of looking crushed and amateur.
Because the starting colors were accurate, when we introduced split-green shadows for that nostalgic film touch, the green sat perfectly in the darks without muddying the talent’s healthy skin tones.
The Takeaway
Color grading is a continuous process that begins the moment you place your first light. Software is incredibly powerful, but true commercial quality comes from getting it right in camera. Treat your time on set as step one of your grade, and your final visuals will always carry that unmistakable, high-end polish.
PROJECT DETAILS
NAME: EAT NOW
CLIENT: DISTRICT CAFE, SUNAYNI
CREATIVE DIRECTOR: YANUME
Gallery